Hey there! It’s Kira and I am back today with a back to school layout using some of my favorite Cardstock Warehouse Cardstock Papers and the printable School Daze collection from Traci Reed. Let's get started!
Supplies:
- Cardstock Warehouse Cardstock Papers (any weight is fine):
- Pink Lemonade
- Bright Red
- Orange Fizz
- Lemon Drop
- Berrylicious
- Blu Raspberry
- New Blue
- Adriatic Blue
- Pure White (background paper)
- Foam Adhesive
- Traci Reed’s School Daze printable/digital collection
- Sewing machine
- Enamel Dots
- Puffy heart stickers

Let’s be honest, for most of us, the 2020 school year was a mess! Since I am a stay at home mom, we decided to do full time virtual school for my oldest son. But it was so much work that I didn’t feel like documenting any part of it for the past year. But now that we are entering the 2021 school year and I have gotten a break from being my son’s assistant, it felt like a good time to start documenting the odd year we had.

Traci Reed released a digital collection perfect for our year, School Daze. I purchased it the second she released it, but this is my first time using it on a layout! I was most drawn to the rainbow of colors Traci chose for this collection. One, because it doesn’t include any purple (my least favorite color) and two, because it includes teals/aquas as the green (my very favorite colors).

Lucky for all of us, there is always a Cardstock Warehouse paper to match any collection you’re working with. So I started by choosing my rainbow (see the list above for the names of all the colors I used). I had lots of ideas on how to use these papers, but once I saw the “homeschool” die cut in the collection, I definitely wanted to play off of that.

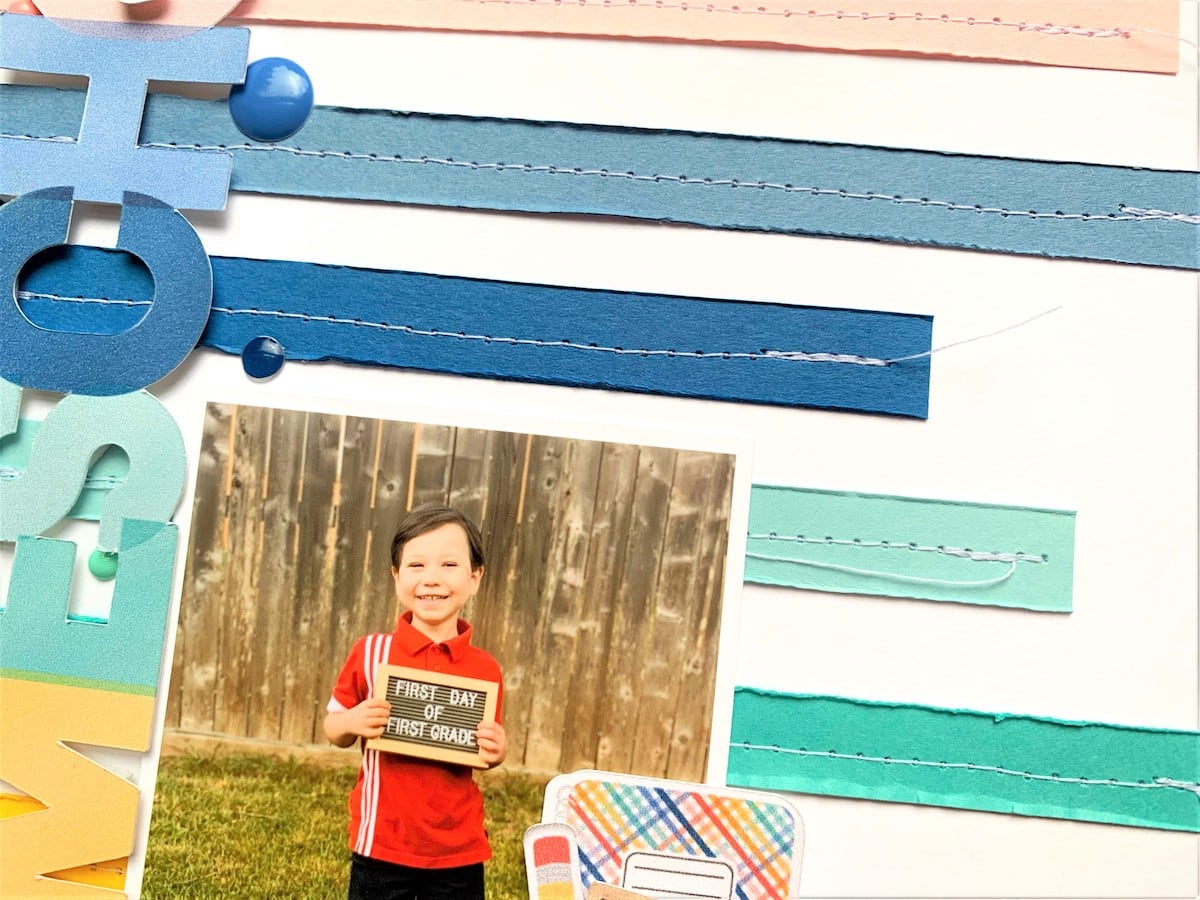
I started by cutting 1/2” strips of each of my cardstock colors. Then I cut them at varying lengths. I sized the title at around 8” long so I could place it vertically on my 6x8 layout. Each strip of color was lightly adhered under each coordinating letter.

I love adding texture to my pages, so I used my sewing machine and white thread to stitch over the top of each strip. Then I roughed up all of the edges of the cardstock for even more texture. You can do this with a bone folder, nail file, your finger nail... whatever you have on hand.

Foam Adhesive was used to give the title some dimension and allowed me to tuck the photo of my son nicely under the edge of the title.

I finished up the layout using die cuts from the School Daze collection (these are printed on matte photo paper, but I definitely recommend using the inkjet printable glitter cardstock to give your digital collections a touch of sparkle!). I also added some enamel dots in coordinating colors and a couple of puffy heart stickers.

Thank you so much for stopping by! I hope you guys enjoyed this project and I can’t wait to see all of your Back to School layouts!
Follow us on Instagram and Facebook for more paper goodness, and tag us in your creations using #cardstockwarehouse to be featured on our Insta!
You can also find more inspiration from me on my Instagram!
Kira
Instagram: @kira.gets.crafty
YouTube: Create. Craft. Repeat.


