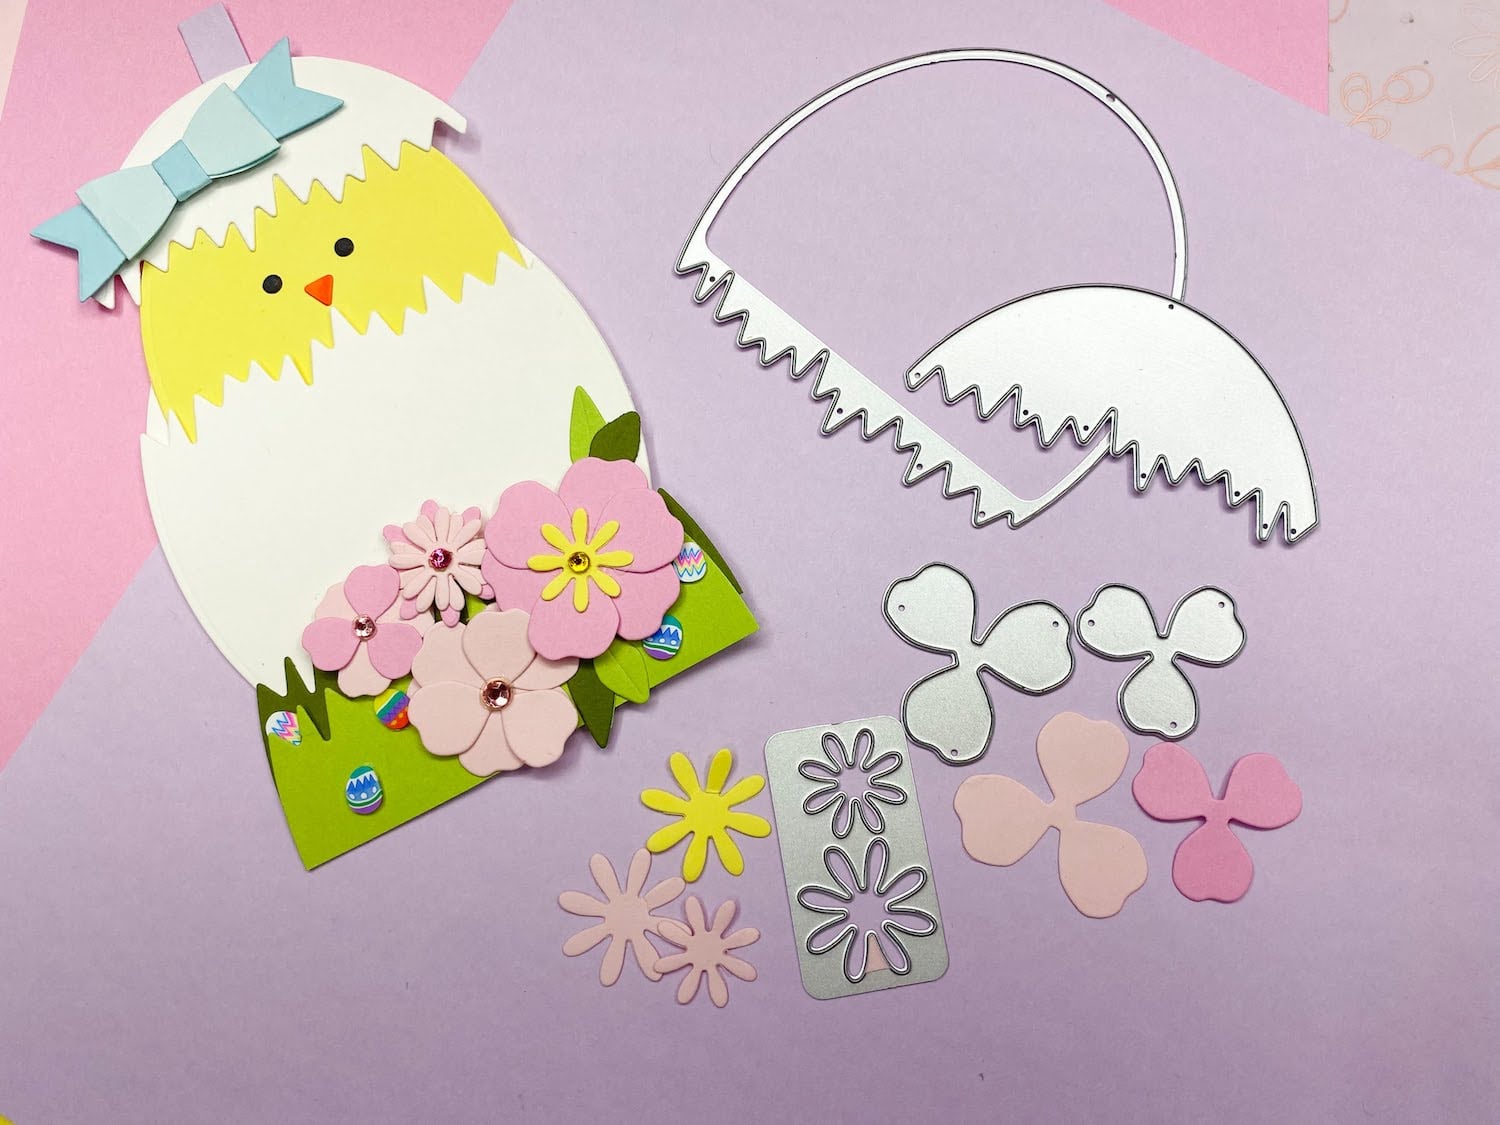
Hi friends, Ivy here from ivypinkmade. I have the cutest easter tag to share with you! I know... Easter already? It’s right around the corner and it’ll be here before you know it.
I am getting started early this year. I found the cutest die set and was immediately inspired!
Let's get started.
Here’s the supplies you will need:
- Cardstock Warehouse Cardstock Papers
- Pink Lemonade
- Cotton Candy
- Sweet Tooth
- Jellybean Green
- Banana Split
- Sno Cone
- Grapesicle
- Pop up adhesive
- Scor Tape
- Zip Dry
- Rhinestones
- Egg Sprinkletz
- Sizzix Big Shot
- Hatching Egg Die

This Hatching Egg die is so adorable! It’s a really good size for a tag and will surely add the cutest touch of handmade to your easter basket.
The first step I like to do is cut up all the colors to the coordinating dies.

Now that all the pieces are cut and ready, it’s time to piece it together.

This hatching chick is so fun because the lid part slides up to reveal the chick.
The Grapesicle piece is the sliding piece, this is how it looks.

I used Zip Dry glue to piece the egg together. This glue is great for small paper pieces because it dries quickly.


The grass part is the same die used for the egg shell but just trimmed off.

Next is this cute itty bitty baby bow.

A little trick I like to do for teeny tiny pieces is color in light color cardstock with markers to the color I need instead of cutting in to a new sheet. Like the eyes and beak of the chick.

Last step is to embellish and to make the flowers pop. I used pop up tape and rhinestones to give the flowers more dimension.
Then I had a bright idea to use these mini clay egg embellishments and “hide” them by the flowers and it turned out soooo cute!

I hope you like this cute easter tag!

Doesn't it look so cute attached to this Easter Basket?!?

I hope you enjoyed this project and thank you for stopping by.
Please tag us on Instagram or Facebook. We would love to see what you make!
Tag us with #cardstockwarehouse to be featured on our page!
Happy Crafting!
Ivy
IG: @ivypinkmade


