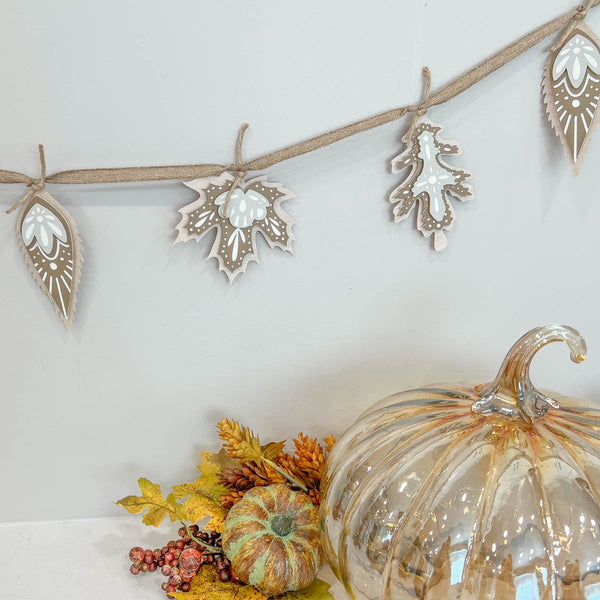
Fall is my favorite time of year... the changing leaves, the crisp air, and all of the beautiful fall colors! I decided to make a fun muted fall leaf banner this year to add to my decor.
To create this banner, you will need:
- Cardstock Warehouse Papers:
- Ivory Lessebo Colours 111 lb.
- Pashmina Lessebo Colours 111 lb.
- Shitake Lessebo Colours 111 lb.
- White Birch Wood Veneer
- Cricut Machine
- Glue
- Foam Dots
- RIbbon
- Twine
Now that you have everything you need, let’s get to work creating this fun fall leaf banner! To begin, cut all of your pieces on your cutting machine. The cutting file for this project can be found by clicking this link to Cricut Design Space: Fall Leaf Garland.

After cutting out all of your paper pieces, you’ll start by assembling the separate layers of the leaves. There is a larger layer and a smaller top layer for each leaf style. Stack and glue the pieces as shown.

Next, we are going to stack and attach the layers of the leaves with foam dots to give them dimension. This is also where you will add the Birch Wood Veneer layer. Take the first leaf and attach the layers as shown. Then, do the same for the other two leaf styles.

Here's what all of the leaves will look like when they are assembled!

Now that we have all of the leaves assembled, we are ready to attach them to the ribbon to make the garland. Tie or glue the leaves to ribbon or twine as desired. I attached twine to the leaves and then tied them onto a ribbon, but you could also hot glue the leaves directly to twine or ribbon.


Now you have a fun fall leaf banner to display with your fall decor! This would also look beautiful down the center of your Thanksgiving table!


We can't wait to see your fall banners! Show us on Facebook or Instagram! Tag your creations with #cardstockwarehouse to be featured in our stories!
Happy Crafting
Randall


