Hi crafty friends! Kayla here from HoneyBee Paper Co with another holiday DIY.
Today I will be showing you how to create Thanksgiving mandala framed art for your home. So let’s dive into it!
SUPPLIES:
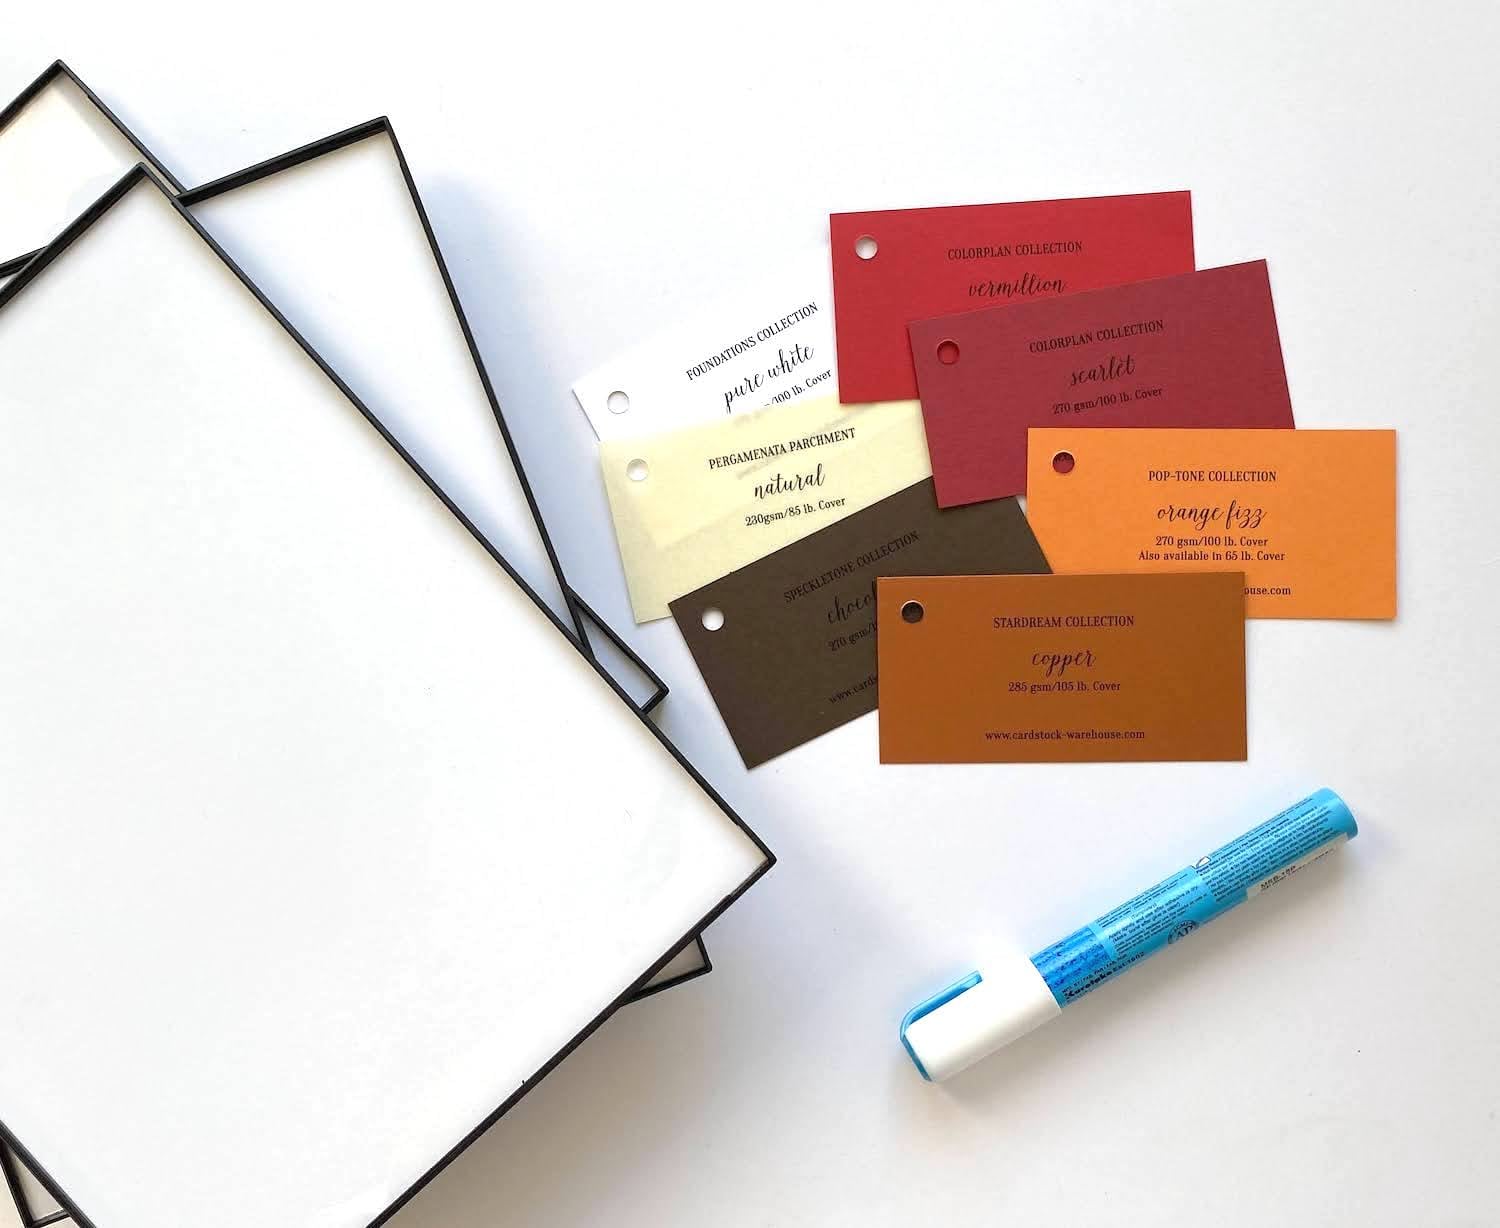
- Cardstock Warehouse Cardstock Papers: Copper Metallic, Vermillion, Scarlet Red, Orange Fizz, Chocolate, Pure White, Natural Pergamenata Parchment
- Cutting Machine
- 2-Way Zig Glue Pen
- Frames

First, I went onto Design Space and added these images.

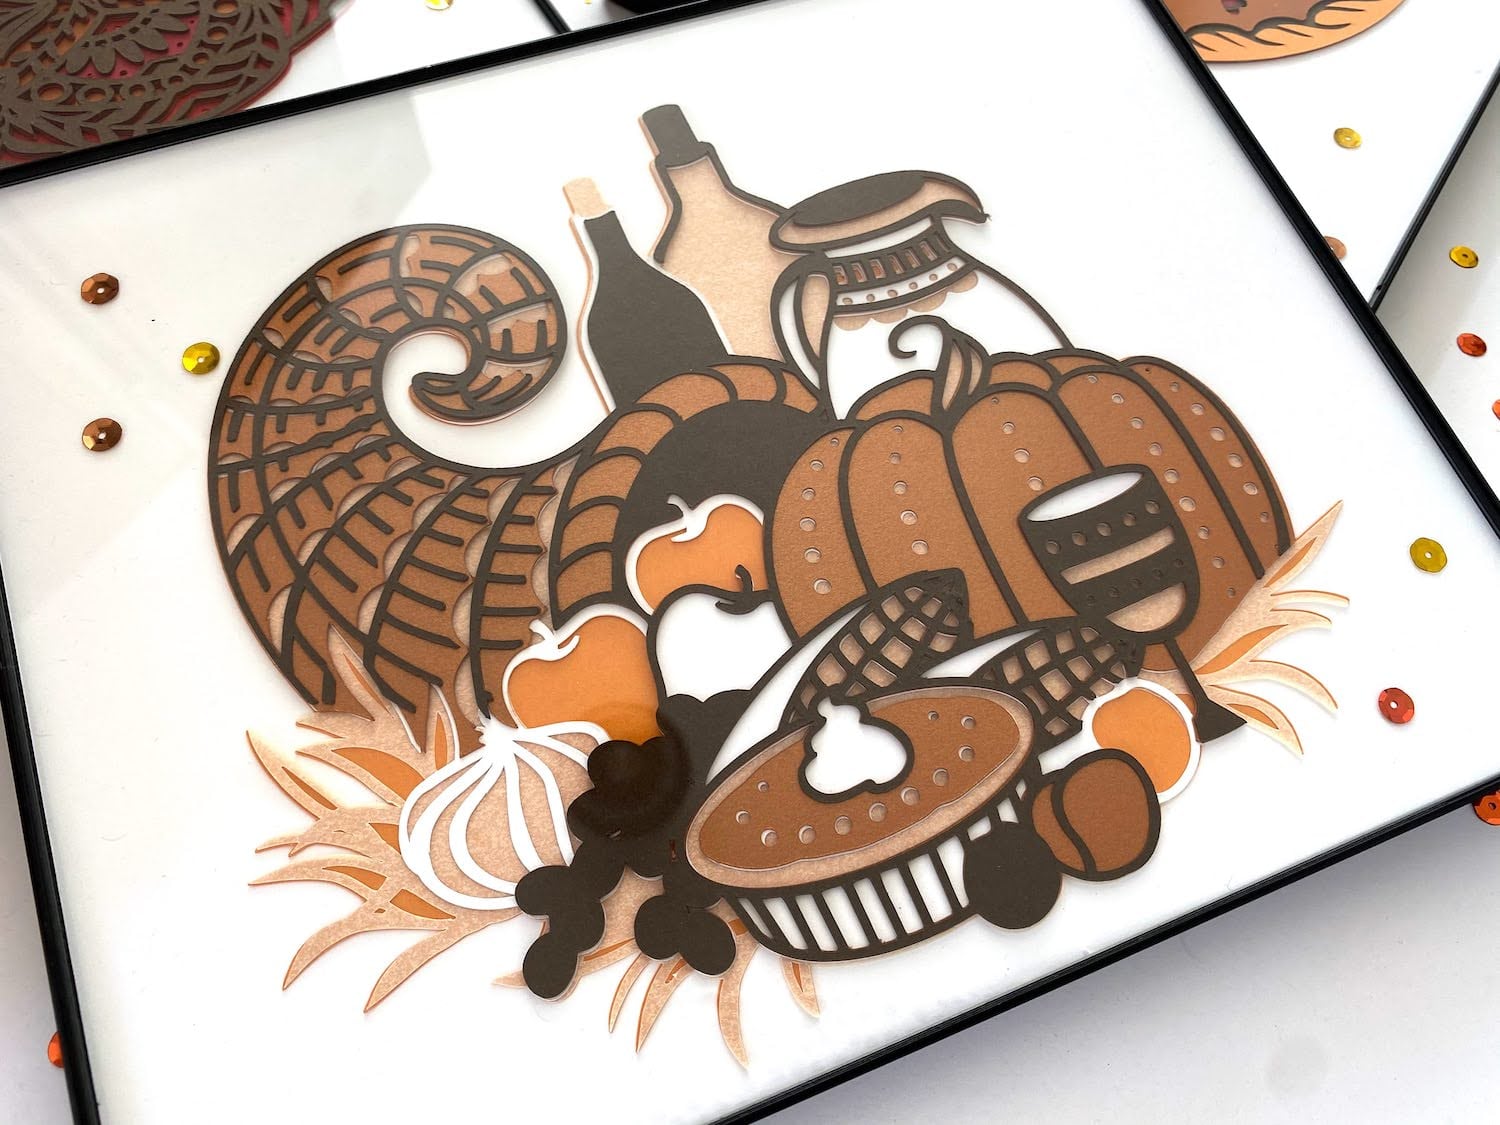
Once I had my images, I resized according to my frame size. I had some 8” x 10” frames on hand, so I decided to resize the Pumpkin and Pie Mandala to approximately 6” x 6” and the Thanksgiving Mandala to approximately 8” x 7”.
Now, to choose the colors! Cardstock Warehouse has the most gorgeous Fall and Thanksgiving colors and this time, I decided to go with colors I have not tried yet.

I’m obsessed with the color combo I went with, especially the Copper Metallic color.
Now grab your cutting machine and begin cutting!
Once all my pieces were cut out, I began assembling. Since each image only has 5 pieces each, assembling should be quick and easy! Just glue the layers on top of each other one at a time with a good liquid paper glue. Need help choosing a glue? Check out our Paper 101 Adhesives page!

Now, we can add them to the frames. And there we have it, easy DIY Thanksgiving framed art!


I hope you all enjoyed this. Thanks for hanging out and I can’t wait to see what you create for Thanksgiving! Share your crafty projects with us on our Instagram or Facebook page, and use #cardstockwarehouse for a chance to be featured on our page!
Happy crafting, friends!
Kayla


1 comment
Of my goodness! These are just gorgeous! A very talented your woman. I always look forward to seeing what she does next! Wish I could get them for my home!